Push buttons are commonly used in circuits to turn on a component while pressed or give signals to a microcontroller via GPIO pins.
Push buttons have four different pins, with two on each side.
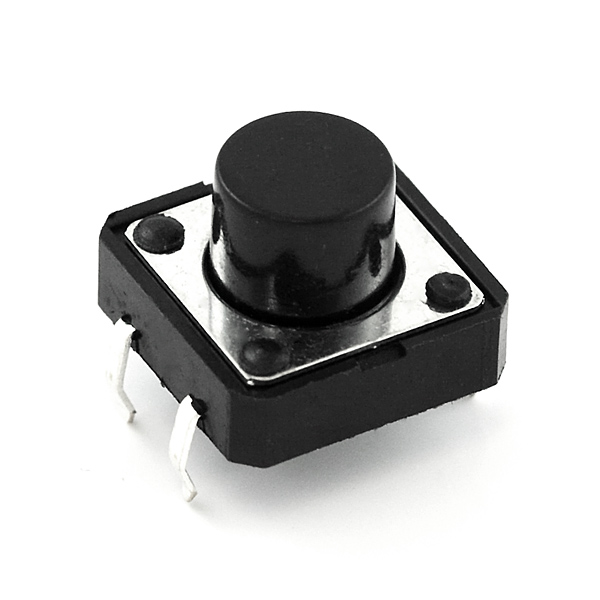
The pins that are across from each other are internally connected. This means that if one wire is connected to the pin on the top left and another to the top right pin, the two wires would be connected together no matter what.
The pins that are side by side are only connected while the button is pressed.
Push buttons can be used like a switch because of this. If a push button is integrated into a circuit in a way that one wire is connected to the back left pin and another to the front left pin, current will only be able to flow through the circuit when the button is pressed. Or, more specifically, if you had a circuit with an LED and push button, you could have the LED only turn on while the button is pressed.
The only problem with this is that you would have to keep pressing the button for as long as the LED needs to be on. This could get very annoying, especially if the LED needs to be on for a long period of time. A solution to this problem is to use a microcontroller.
You could use an Arduino or Raspberry Pi and connect the LED to one of the GPIO Output pins. Then, you would need to connect one of the side legs to an Input pin and the other pin, from the same side, to ground. Now, you can program the Arduino/RPi to receive a signal from the button when it is pressed and turn on or off an LED based on this.
However, push buttons can really be used to control anything. You just need to get the input from the push button and program your microcontroller to give an output based on this input.
Here is the schematic symbol of a push button: